
Candles set a mood, whether it’s a cosy dinner, a birthday celebration or a quiet soak in the tub. But when a pool of wax finds its way onto your carpet, it can quickly turn a great memory into a frustrating clean-up job.
Wax is tricky because it starts as a liquid, soaks into carpet fibres, then hardens again, often deep down where your vacuum can’t reach. The good news? With the right process and a bit of patience, you can remove it safely without damaging your carpet or your evening!
Quick Summary – Candle Wax Fix
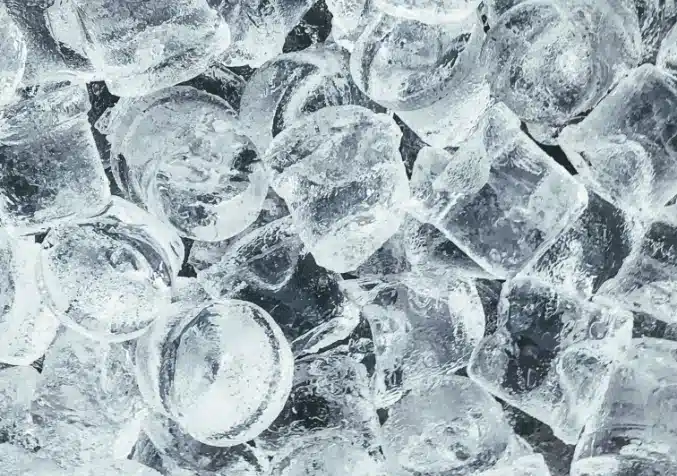
- Freeze: Ice bag a few minutes, harden wax.
- Scrape: Lift with blunt knife or card; vacuum bits.
- Heat: Warm iron + paper towel draws out wax.
Stains: Dab dye marks with rubbing alcohol or Electro-3 remover.
Need backup? Call 13 27 13 or book online.
Before You Start: A Few Handy Tips
It’s tempting to dive straight in, but taking a moment to prepare will make the whole process easier and less risky.
- Let it cool down: Don’t try to clean soft wax as it will just spread. Let it harden first.
- Test first: Whatever you’re using, heat/cleaner/solvent, always trial it in an inconspicuous corner to check for colourfastness or fibre damage.
- Use the right tools: Dull tools like a butter knife or old credit card are better than sharp blades, which can fray fibres.
- Avoid coloured paper: Printed materials can transfer dye when heated. Stick to white towels or a brown paper bag.
Step-By-Step: A Low-Risk Wax Removal Workflow
Step 1. Freeze and Scrape
Before you introduce heat, get as much wax off as possible while it’s solid.
- Place a plastic-wrapped ice pack or bag of ice over the wax for 5–10 minutes until it becomes brittle.
- Use a plastic scraper, old credit card or butter knife to gently chip away pieces.
- Vacuum up all fragments immediately, this dry removal reduces how much wax you’ll need to melt later.
Pro tip: Keep the ice wrapped so moisture doesn’t soak into the carpet, wet fibres are harder to clean and can trap more wax.
Step 2. Controlled Heat Transfer
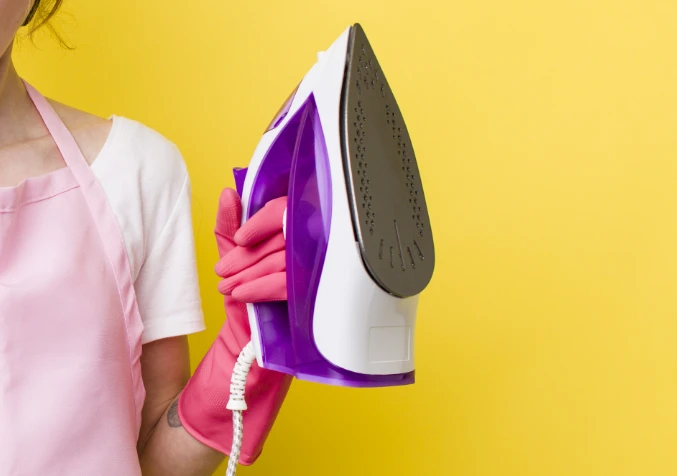
Once you’ve removed the majority of the wax, it’s time to soften the rest, carefully.
- Lay a clean white cloth or a brown paper bag over the remaining wax.
- Use a clothes iron on low to medium heat (no steam) and gently press it onto the cloth.
- As the wax heats up, it will transfer into the cloth. Rotate to a clean section and repeat until no more wax is absorbed.
Pro tip: Be patient and keep the iron moving; excessive heat or too much pressure can distort fibres. If you don't have an iron or prefer not to use one, a hair dryer on medium heat works too, just hold it above the wax and blot with towels as it softens.
Step 3. Clean Up the Residue
After the wax is off, you might still see a slight oily or coloured mark, especially with red or green wax.
- Apply a mild carpet cleaner or a little rubbing alcohol to a cloth and gently dab the area.
- Work from the outside in to avoid spreading the stain.
- Rinse with a damp cloth and blot dry.
Pro tip: If scented wax leaves behind sticky residues, sprinkling baking soda or cornstarch and brushing gently before vacuuming can help absorb oils.
When the Colour Won’t Budge

Sometimes dyes in coloured wax leave a faint stain even after the wax is gone. This doesn’t mean your carpet is ruined. It just needs a bit more attention. It just needs a bit more attention.
For stubborn colour, a dedicated stain remover formulated for carpets, like Electro-3 Spot & Stain Remover, can help. Just be sure to follow the directions and test first.
Final Thoughts
So, as you can see, wax spills on carpet are annoying, but not a night-ruiner!
The key is patience and technique. Always remember:
- Freeze first.
- Remove as much dry wax as possible.
- Gently use heat to draw out the rest.
- Finish with a light clean-up to restore the fibres and colour.
Take it slow, protect your carpet, and you’ll often get professional-level results right at home.
